Choquequirao Trek Route Difficulty and Tips
Let’s be honest: the Choquequirao trek is hard. In fact, many seasoned hikers say it’s tougher than the famous Inca Trail. But “hard” doesn’t mean “impossible,” and the reason it’s so demanding is probably not what you think. It isn’t about extreme altitude or technical climbing; the real difficulty is etched directly into its punishing route, a massive down-and-up journey that tests your body in a completely different way.
The best way to grasp the choquequirao trail elevation profile is to imagine walking down the stairs of a 150-story skyscraper one day, crossing the street, and then climbing all the way back up the next. That is the trek in a nutshell—a massive descent into the breathtaking Apurímac Canyon followed by an equally colossal ascent. While the uphill climb tests your lungs, it’s the long, steep downhill that truly challenges hikers, putting relentless pressure on knees and quads. This immense total of uphill and downhill is the trek’s signature trial.
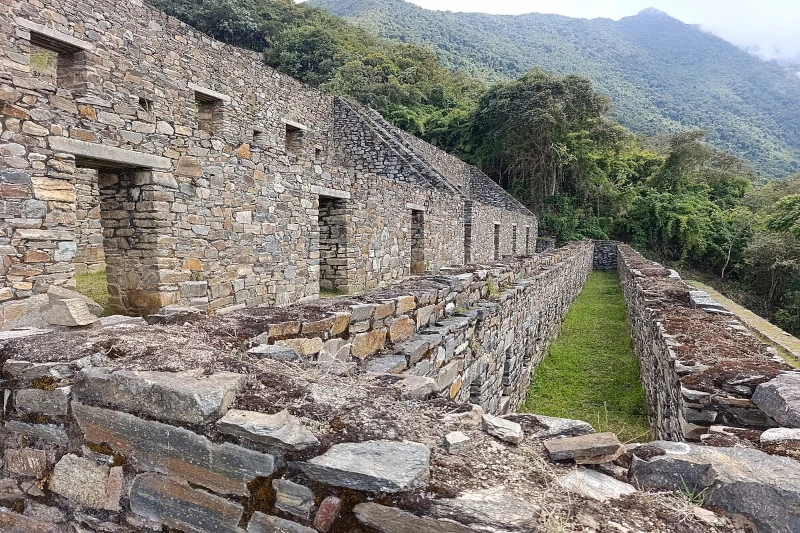
These challenges of hiking to choquequirao unfold on endless switchbacks, the zigzagging trail you can see snaking across the canyon walls. It’s a true test of endurance, not just cardio. Your legs will feel the burn, but the physical struggle is directly connected to the reward. As you conquer the grueling apurimac canyon trail conditions, the views become more magnificent with every step, making your final arrival at the sprawling, empty ruins a victory you have genuinely earned.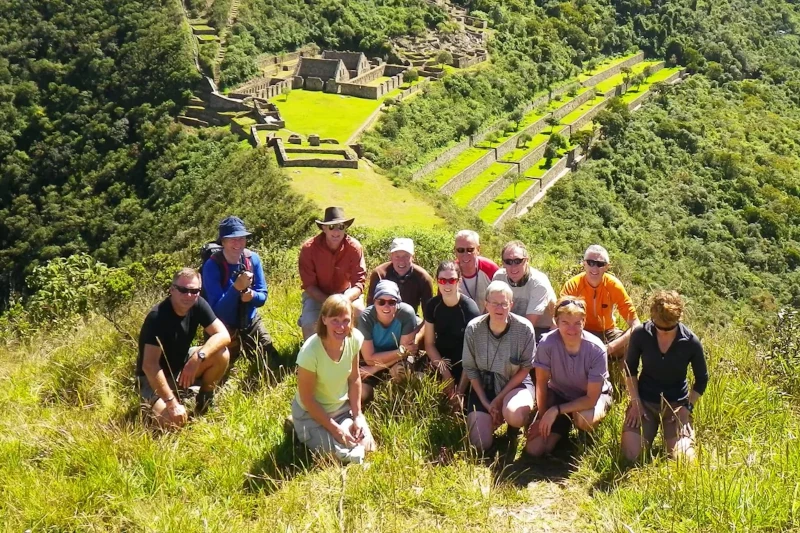
A 4-Day Trek: Day-by-Day Breakdown of the Effort
Thinking about the Choquequirao trek in terms of four days helps break down its immense challenge into manageable chunks. Each day has a distinct personality, from a knee-testing descent to a triumphant arrival at the ruins. This daily hiking itinerary gives you a clear picture of the effort involved.
Your journey begins at a viewpoint named Capuliyoc, where the staggering scale of the Apurímac Canyon unfolds before you. Day 1 is almost entirely downhill, a long, zigzagging descent toward the river far below. While “downhill” might sound easy, this relentless grade is a major test for your knees and quads. You’ll end the day at the lowest point of the trek, a campsite by the river called Playa Rosalina, likely feeling the burn but ready for the main event.
Day 2 is, without question, the primary challenge of hiking to Choquequirao. After crossing the river, the trail goes only one way: up. For hours, you’ll tackle a steep, often sun-exposed, and calf-burning climb. The goal is the high campsite of Marampata, which sits just below the ruins. This portion is a true test of endurance and mental grit, but every switchback you conquer takes you closer to your incredible reward.
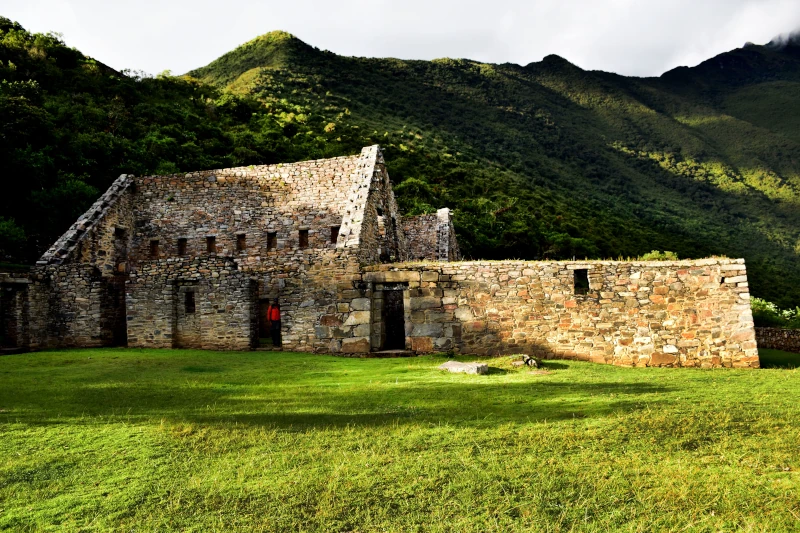
The payoff for all your hard work arrives on the morning of Day 3. You’ll wake up just a short hike from the Choquequirao ruins and spend hours exploring the vast, quiet plazas and terraces often with only a handful of other trekkers in sight. The return journey simply reverses the route: a steep descent back to the river on Day 3, followed by the final, long climb out of the canyon on Day 4 to finish where you started.
Ultimately, the daily hiking distance isn’t what makes this trek so demanding; it’s the severe, sustained elevation changes. The campsites are basic but functional, providing a welcome place to rest your weary legs.
How Does the Challenge Compare to the Inca Trail?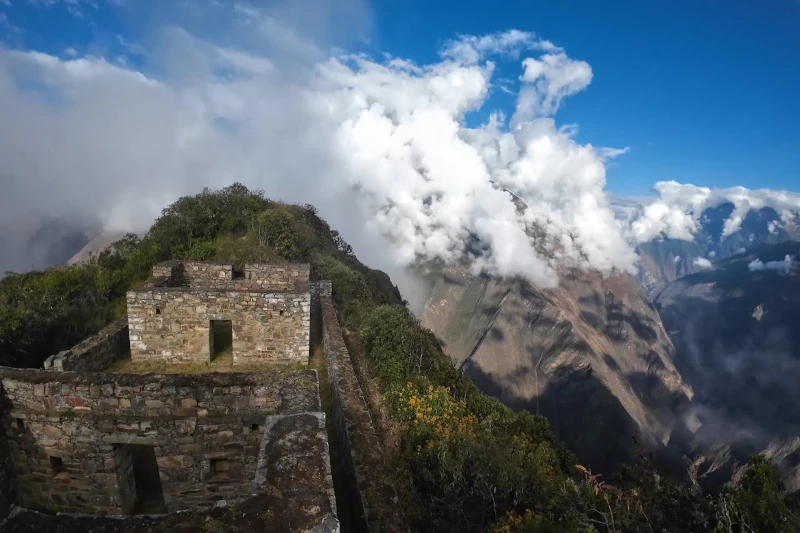
When people ask about the Choquequirao vs. Inca Trail challenge, the answer often surprises them. While the Inca Trail to Machu Picchu is world-famous, many experienced hikers agree that Choquequirao is the more physically demanding trek of the two. The difference isn’t altitude—the Inca Trail goes higher—but the sheer, punishing steepness. The Choquequirao trek is a brutal test of leg strength and endurance, forcing you down a massive canyon and right back up again. The Inca Trail, by contrast, involves more gradual ascents at a higher average elevation.
Another huge difference lies in logistics and freedom. The Inca Trail is heavily regulated; you must book a permit months in advance and go with a licensed guide. This creates a more structured, but also more crowded, experience. Choquequirao is the wild opposite. No permits are required, and while hiring a guide is highly recommended for safety and support, you have the freedom to trek more independently. This lack of regulation is the main reason you’ll find profound solitude here.
The choice comes down to the type of challenge you want:
- Inca Trail: Higher altitude, requires permits/guide, more crowded.
- Choquequirao Trek: Steeper elevation changes, no permits required, far fewer people.
Neither trek is “better”—they just offer different rewards. If you want the iconic journey to Machu Picchu and are prepared for the high-altitude test, the Inca Trail is for you. If you crave solitude and are ready for a raw physical challenge to earn your crowd-free ruins, Choquequirao is calling your name.
The Simple Truth About Altitude Sickness on This Trek
Whenever you hear about hiking in Peru, the topic of altitude sickness inevitably comes up. Here’s some good news: while you should always be mindful of it, altitude is less of a primary concern on the Choquequirao trek compared to other famous routes. The trek itself actually descends to elevations lower than Cusco, where you’ll likely start your journey. This means the bigger challenge isn’t thin air, but the steep terrain.
That said, you still need to give your body time to adjust. The key is acclimatization, which is just the process of letting your body get used to functioning with less oxygen. The best acclimatization plan for Choquequirao is also the easiest: spend at least two full days in Cusco (or the nearby Sacred Valley) before your trek begins. This simple step is the most effective way to prevent altitude-related issues on the trail.
Even with preparation, it’s smart to know the early, mild signs that your body is working hard to adapt. If you experience the following, it’s not a reason to panic, but a signal to slow down, drink more water, and rest:
- A mild, persistent headache
- Feeling more tired than usual
- Slight nausea or loss of appetite
By giving yourself time to acclimatize and listening to your body, you can put altitude concerns on the back burner and focus on the real test.
Are You Fit Enough? A Realistic Training Plan
So, what does “fit enough” for the Choquequirao trek actually mean? It isn’t about being a marathon runner or a powerlifter. A great benchmark for the required fitness level is being able to comfortably complete 45-60 minutes of continuous cardio that involves hills or stairs. If you can handle a StairMaster or a treadmill on a high incline for that long, you have a strong foundation. The goal is endurance for long days on your feet and specific leg strength to handle the extreme elevation changes.
Your training for the Choquequirao trek should focus on mimicking the trail’s unique demands. The punishing downhill hike puts immense pressure on your knees, while the subsequent uphill climb is a true test of your quads and glutes. This is where exercises like squats and lunges become your best friends. They build strength in exactly the right places, preparing your legs not just for the climb but also for stabilizing your body on the long, jarring descent.
A simple yet effective routine, started at least six weeks before your trip, can make all the difference. Aim for a weekly schedule that looks something like this:
- 2-3x per week: Cardio Endurance. Spend 45 minutes on a stair-climbing machine, walking on a steep treadmill incline, or cycling in a high gear.
- 2x per week: Leg Strength. Perform 3-4 sets of bodyweight squats, lunges, and calf raises. No gym membership required.
- 1x per week: Long Hike/Walk. Find a local trail with hills and walk for 2-4 hours, wearing the shoes you plan to trek in.
Committing to a plan for preparing for a strenuous hike like this does more than just build muscle—it builds confidence. Every training session is a mental and physical step towards the ruins, ensuring you arrive ready to enjoy the journey, not just endure it.
How to Pack Smart: Beyond the Basics for a Strenuous Hike
With your legs getting stronger, the right gear is your next line of defense. For a trek this demanding, a few key items move from the “nice-to-have” category to absolute essentials. The long, steep descent into the Apurímac Canyon puts incredible strain on your knees, and this is where trekking poles become non-negotiable. Think of them less as walking sticks and more as a portable support system; they absorb shock, provide stability on uneven ground, and transfer a significant amount of weight off your joints, saving them for the big climb back up.
Once you start descending, you’ll quickly notice the distinct lack of shade. The Andean sun is powerful, reflecting off the canyon walls and making robust protection critical. A wide-brimmed hat is far more effective than a baseball cap, protecting your neck and ears. Combine this with high-SPF sunscreen (and remember to reapply it) and quality UV-blocking sunglasses to prevent the kind of energy-draining sunburn that can make a tough day even harder.
Finally, the combination of steep trails, heat, and multiple days on your feet creates the perfect recipe for blisters. While well-worn boots are your first defense, don’t underestimate the power of a good first-aid kit. Packing high-quality blister plasters (like Compeed) can be the difference between finishing strong and limping to camp. These aren’t just glorified bandages; they act like a second skin to cushion the spot and prevent further rubbing.
Your Non-Obvious Essentials Checklist:
- Trekking poles
- Knee braces or straps (if you have sensitive knees)
- A wide-brimmed sun hat
- High-SPF, sweat-resistant sunscreen
- Dedicated blister plasters
- Electrolyte tablets for your water
The Verdict: Is the Choquequirao Trek Worth the Effort?
The phrase “a difficult trek” can be a vague warning, but the Choquequirao challenge is specific. It’s not about technical skill or extreme altitude, but the sheer, muscle-testing descent and ascent of the Apurímac Canyon a giant ‘V’ carved into the Andes that you must conquer twice. Understanding this transforms the question from “Can I do it?” to “How will I prepare?”
The answer begins simply: find the biggest hill or longest flight of stairs in your area and make it your new best friend. Each climb builds the physical and mental grit required for the trail’s toughest day. This is your first step on the path to earning an incredible reward—the kind of reward that sets Choquequirao apart from the Inca Trail. Imagine arriving at the ruins not with hundreds of others, but with only the sound of wind whistling through stone terraces.
So, is the Choquequirao trek worth the effort? The ache in your legs will fade, but the feeling of standing in that immense, quiet space, watching condors soar below you in the canyon you just conquered, will last a lifetime. It’s an adventure that proves just what you’re capable of.